Changing Rooms: The Art of Drywall Edmonton Proficiency
Changing Rooms: The Art of Drywall Edmonton Proficiency
Blog Article
The Ultimate Step-by-Step Overview to Drywall Installation: From Prep to Paint
Drywall installment is a crucial step in any kind of construction or renovation job, and it calls for mindful focus to information and exact implementation. From gathering the essential devices and materials to gauging and cutting the drywall panels, we will offer you with succinct and clear directions to guarantee an effective setup.
Gather Necessary Equipment and Materials
To start the drywall setup procedure, it is necessary to collect all the required devices and products in an expert way. Having the right devices and products not just guarantees a reliable and smooth setup but likewise adds to the overall top quality and sturdiness of the ended up task.
Most importantly, you will certainly need a tape procedure to accurately measure the dimensions of the ceilings and walls. This will enable you to cut the drywall sheets to the appropriate dimension, reducing waste. An utility knife with sharp blades is crucial for tidy and precise cuts (drywall installation). Furthermore, a T-square can assist you accomplish square and straight cuts.
Next, you will screw or require a cordless drill weapon to secure the drywall sheets to the studs. Ensure to have an adequate number of drywall screws on hand. These screws should be long enough to permeate the drywall and safely slow to the studs.
Various other crucial tools consist of a drywall lift or a couple of assisting hands to assist with positioning and holding the drywall sheets in location. A drywall T-square can be practical for marking cutting lines, while a rasp or fining sand block will enable you to smooth any harsh edges.
Finally, collect all the required safety equipment, such as shatterproof glass, gloves, and a dust mask, to secure yourself during the installment procedure.
Prepare the Work Area
Prior to starting the drywall installation process, it is critical to appropriately prepare the workplace to guarantee a smooth and reliable installation. This step is essential as it establishes the structure for the entire job, making it possible for the installment to continue effortlessly.
To begin, it is very important to remove the workplace of any kind of furniture, decorations, or various other items that might obstruct the installation process. This includes eliminating wall danglings, covering furniture, and safeguarding the floors with decrease towels or plastic sheets. In addition, ensure that the location is well-ventilated by opening up home windows or using followers to avoid the accumulation of dust and fumes.
Following, inspect the walls and ceilings for any existing damage or abnormalities. Resolve any kind of concerns such as splits, openings, or irregular surface areas prior to waging the installment. This may include patching up openings, fining sand down rough locations, or applying a skim coat to even out the surface area.
Last but not least, action and mark the format of the drywall sheets on the walls and ceilings. This will work as a guide throughout the installment process and assistance ensure accurate positioning of the panels (drywall contractors). Think about any kind of outlets, buttons, or various other fixtures that may call for unique interest
Step and Cut the Drywall Panels
Accurate dimensions and accurate cuts are essential when dealing with drywall panels throughout the installation procedure. Prior to cutting the drywall, it is essential to gauge the measurements of the area where the panels will be mounted. Utilize a measuring tape to determine the elevation and width of each area, and make certain to account for any kind of electrical outlets or fixtures that might need customized cuts.
When the measurements are taken, move them onto the drywall panels marking or making use of a pencil tool. Ascertain the measurements to ensure precision prior to continuing with the cutting procedure. It is suggested to use a T-square or straight side to produce straight lines for reducing.

When reducing drywall to protect yourself from debris,Keep in mind to wear security goggles and dirt masks. Additionally, it is recommended to have a person aid you in holding the panels throughout the cutting process to guarantee security and precision
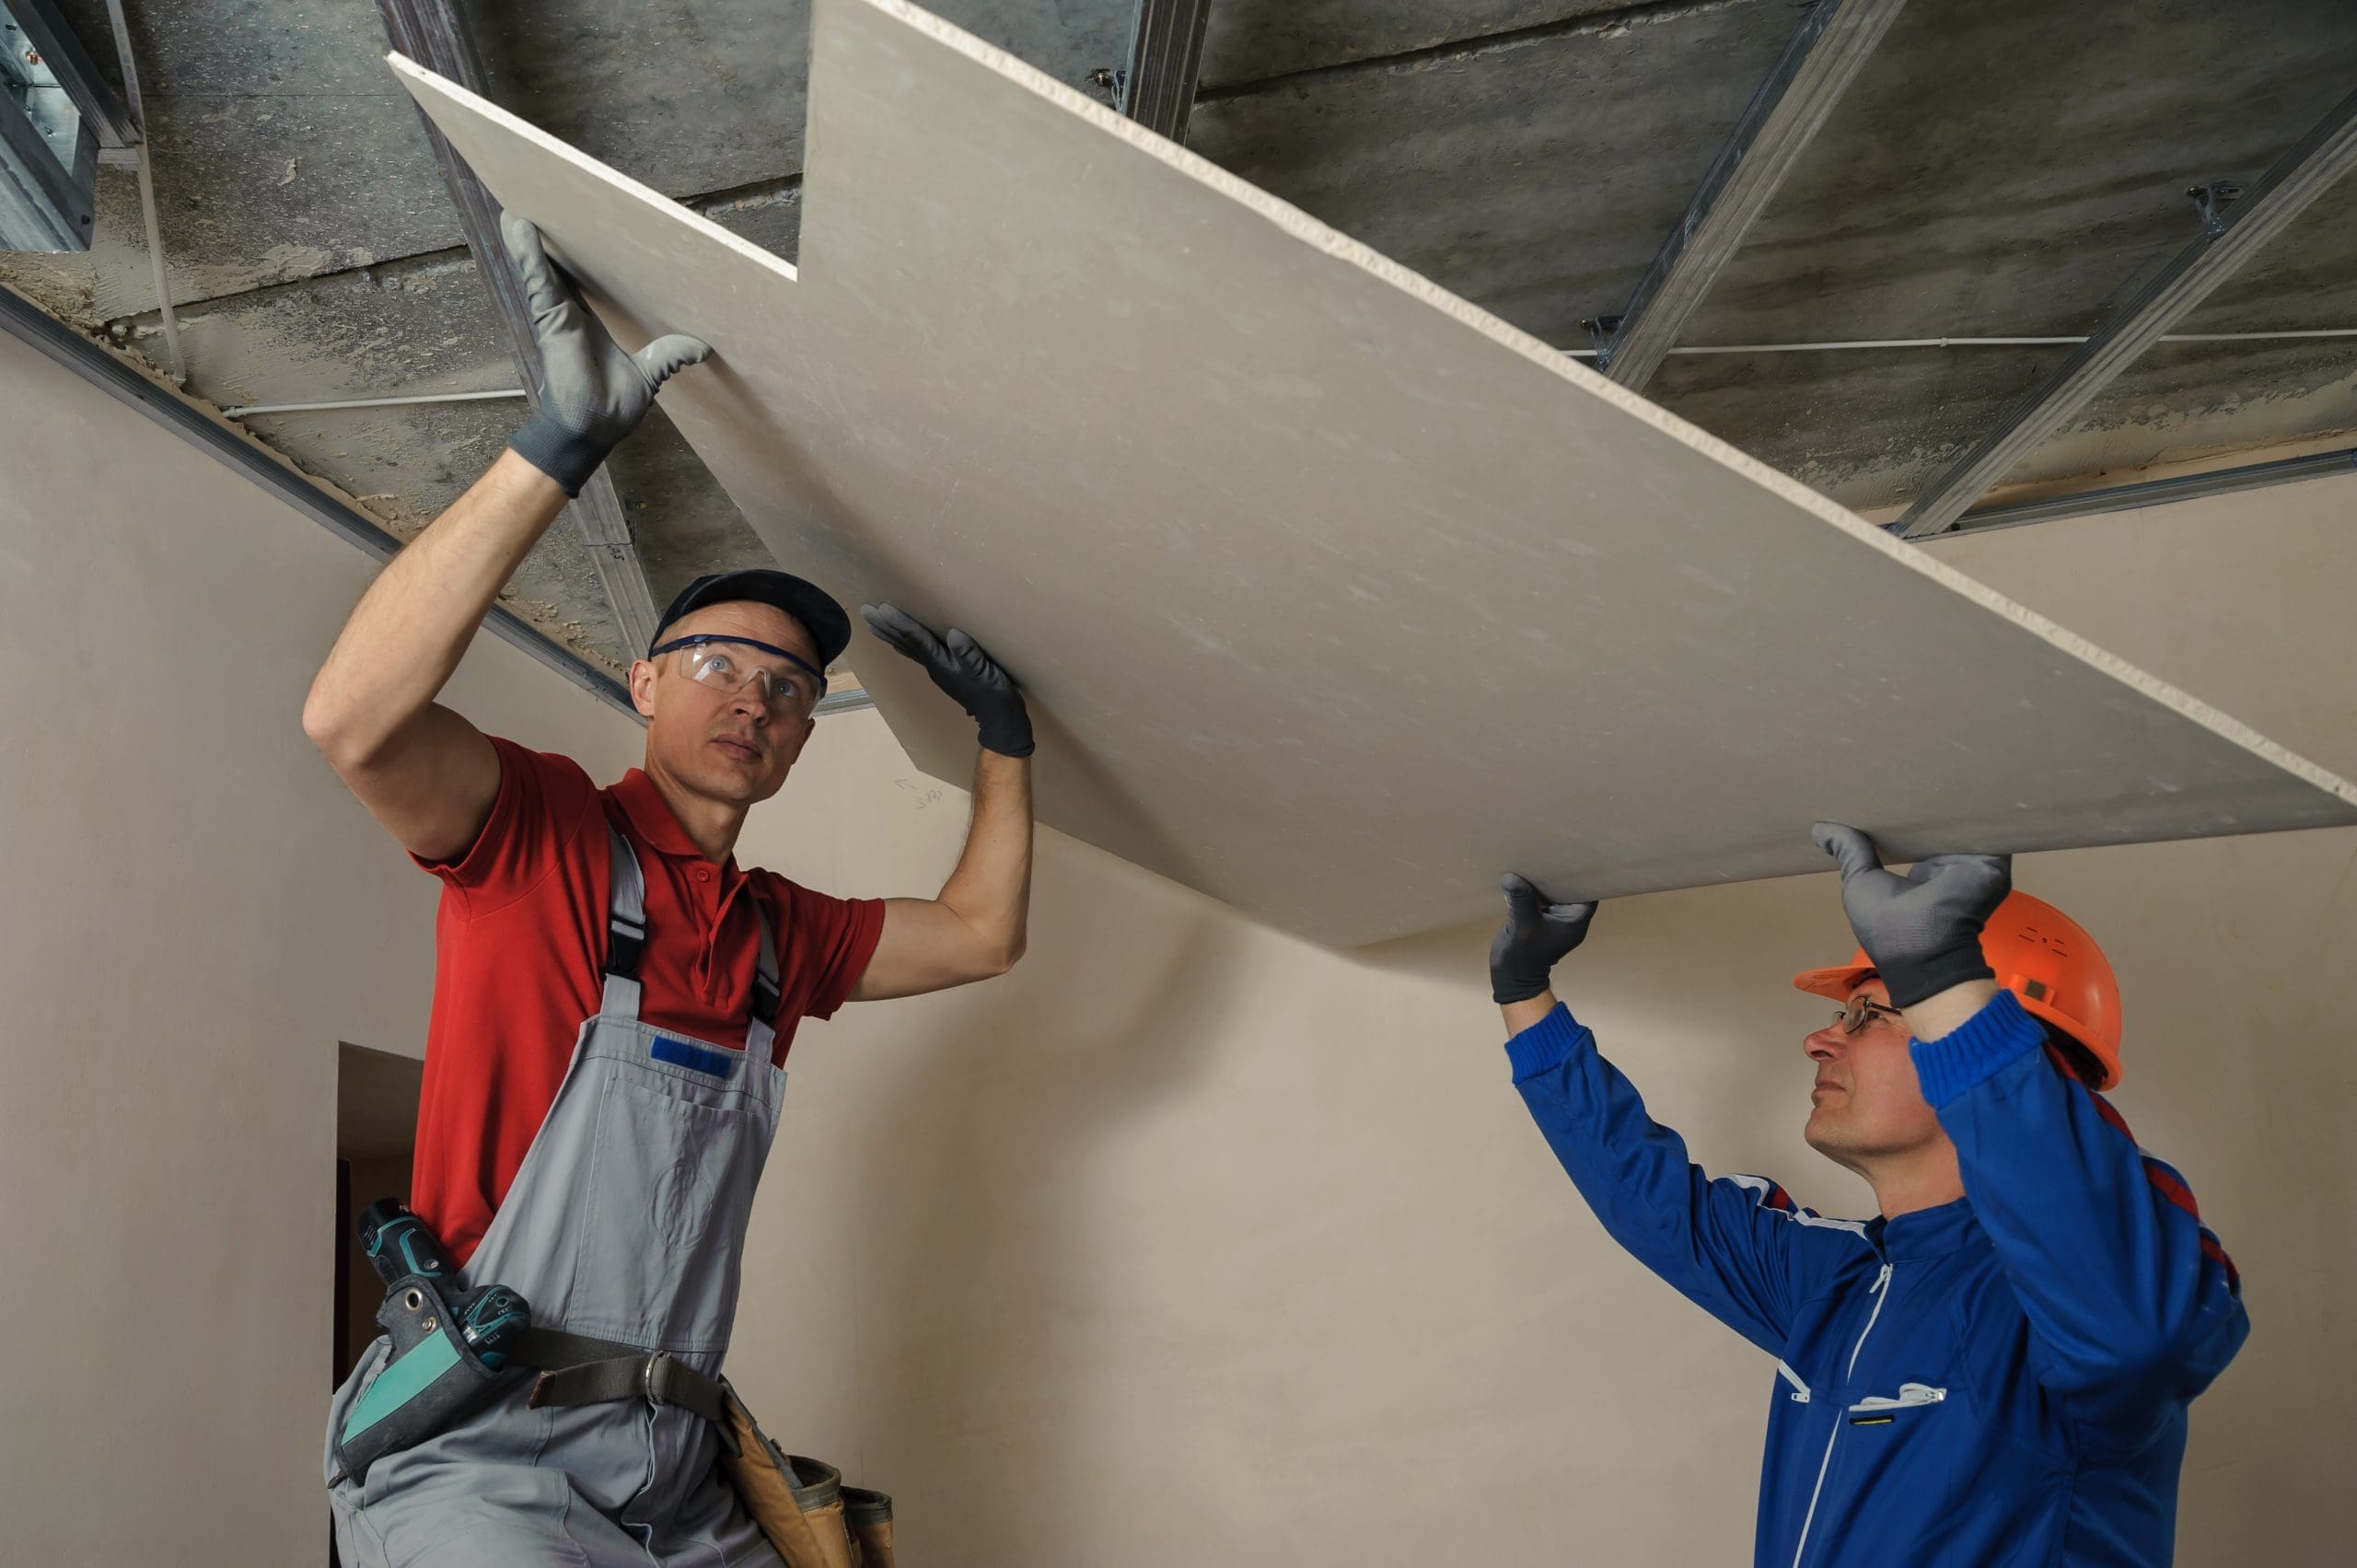
Install and Secure the Drywall Panels
Proper setup and secure add-on of the drywall panels is critical for a resilient and successful finish. To start, thoroughly lift the drywall panel right into area, ensuring it lines up with the marked guidelines on the wall. Starting from one edge, insert drywall screws right into the panel, driving them through the drywall and right into the wall surface studs.
End Up and Paint the Drywall Surfaces
To accomplish a expert and sleek finish, the next action after mounting and protecting the drywall panels is to carefully end up and paint the drywall surfaces. Finishing the drywall entails several steps to make sure a smooth and smooth look. Any noticeable seams or joints in between the drywall panels should be covered with joint substance and tape. This compound is related to the joints, smoothed out, and left to dry. When completely dry, it is fined sand down to develop a smooth surface area. Next, any imperfections or uneven areas on the drywall are full of joint substance and fined sand down till smooth. After the drywall is properly finished, it is time to paint. Before painting, it is very important to prime the drywall surfaces to make certain correct attachment and a smooth finish. Once the primer is completely dry, the drywall can be repainted utilizing a roller or brush, depending upon the preferred surface. Several layers may be needed to accomplish the desired shade and coverage. It is drywall installation essential to allow each coat to dry before applying the next. Once the paint is completely dry, the drywall surfaces are all set to be appreciated.
Verdict

From collecting the essential devices and products to gauging and cutting the drywall panels, we will certainly provide you with clear and succinct instructions to make sure an effective setup.Exact cuts and accurate dimensions are important when functioning with drywall panels during the installment process.Correct installation and safe and secure attachment of the drywall panels is crucial for a resilient and successful finish. Starting from one corner, insert drywall screws right into the panel, driving them via the drywall and right into the wall studs.To accomplish a polished and expert coating, the following action after installing and safeguarding the drywall panels is to meticulously complete and repaint the drywall surface areas.
Report this page